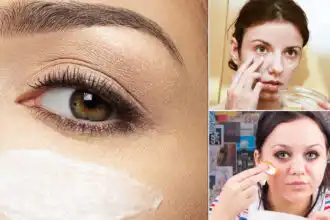
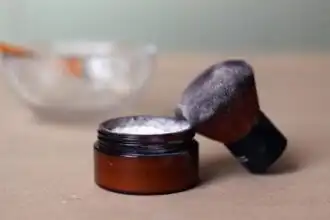
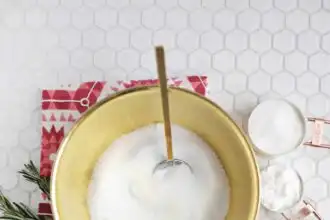
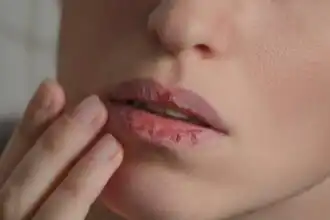
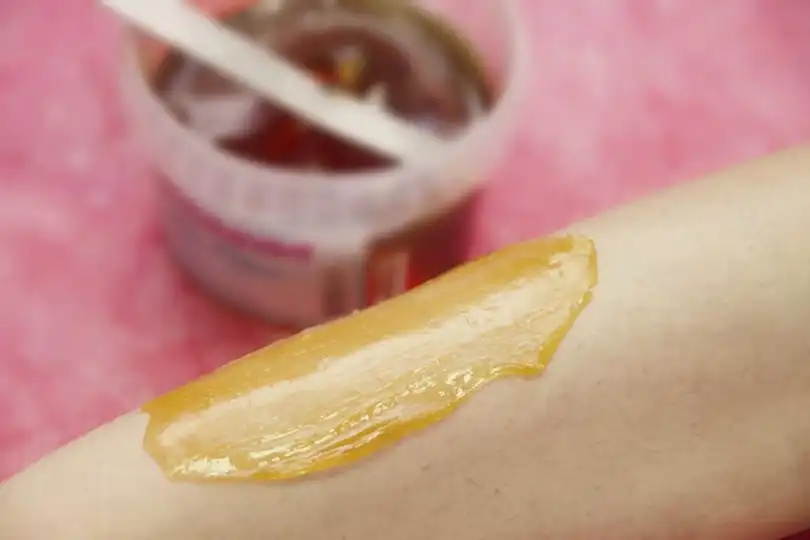
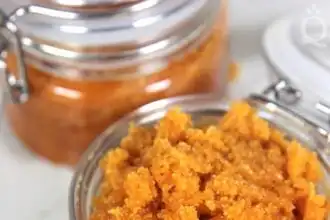
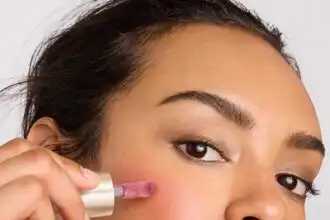
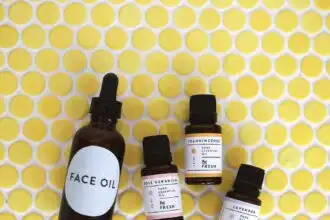
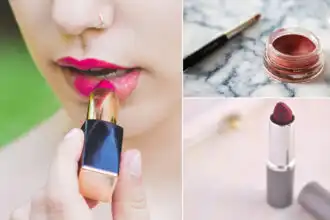
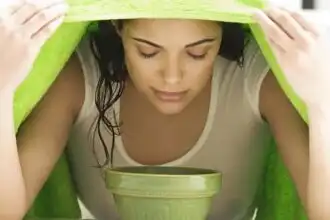
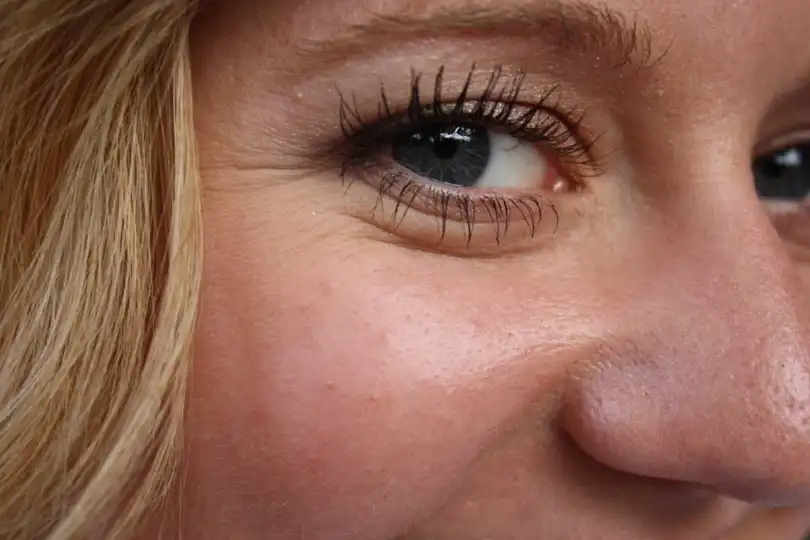
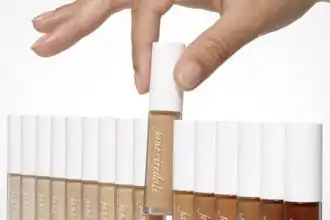
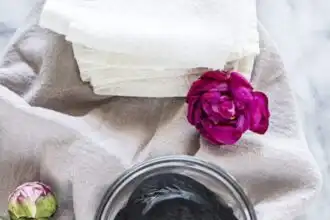
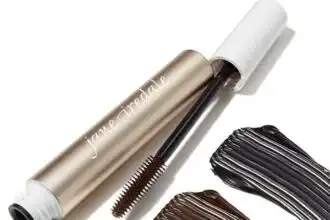
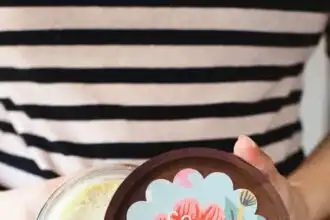
A jar of the Vaseline Petroleum Jelly could be that useful– You’ll be surprised after learning these 47 amazingVaseline Uses!ContentsA jar of the Vaseline Petroleum Jelly could be that useful– You’ll be surprised after learning these 47 amazing Vaseline Uses!1. Hydrating Face Cream2. At-Home Manicure3. Substitute for Highlighter4. Substitute for Mascara5. Seal Split Ends6. Transform Matte Makeup7. Eye Makeup Remover8. Avoid Tan Patches9. Smell Better Longer10. DIY Lip ScrubMEDICINAL USES1. Repair windburned skin2. Prevent Diaper Rash3. No More Shampoo Tears4. Healing Cuts & Chapped Lips5. When Taking a Child’s Temperature6. Preventing Pollen Allergies7. Repair Cracked Heels8. Cover Cold Sores9. Anti-Atopic Dermatitis Remedy10. Ease Pierced EarsHOME & LIFESTYLE USES1. Lubricate Cabinets and Windows2. Smoothen Motion of Shower Curtains3. Deter Squirrels from the Bird Feeder4. Prolong Pumpkin Freshness5. Repair Furniture Damage6. For Soft Focus Shots7. For Razor Blades8. Create Fly Paper9. Revive Baseball Mitt10. Clean and Polish Wooden Furniture11. Remove Bubble Gum12. Remove Stains from Cloth NapkinsOUTDOOR USES1. Tighten Lid on Paint2. Detach Sticky Outdoor Light Bulbs3. Alleviate Noisy Door Hinges4. Cold Weather Skin Protectant5. Chrome Protection6. Protect Runners7. Lock Maintenance8. Prevent Battery Corrosion9. Paint Protection10. Clean Bird DroppingsPET-RELATED USES1. Moisturize Dog’s Paws2. Hairball Remedy3. Keep Ants Away from Pet Dishes4. Protection from Chafing5. Remove Dog Ticks1. Hydrating Face CreamVaseline works great for hydrating face and locks moisture. It’s an effective and noncomedogenic moisturizer that works wonders on dry skin. Also, it’s relatively cheap. Read more on How Stuff Works!2. At-Home ManicureFor a professional touch on your nail paint, apply Vaseline on the cuticles to keep the color from reaching the skin around your nails. You’ll get a fuss-free manicure without the need of any clean-up every time.3. Substitute for HighlighterIf you have sensitive skin and are wary of the effect that store-bought highlighters would cause, consider using Vaseline instead. Dab some on your cheekbones, T-zone and upper eyelids for a dewy, soft and naturally luminous glow.4. Substitute for MascaraIf you hate mascara for its messy nature and still yearn for fuller, perfectly-defined lashes, use Vaseline for a sleek and shiny finish. Vaseline not only leaves the lashes moisturized but also helps them grow!5. Seal Split EndsA dab of Vaseline is all that is needed to keep those frizzy split ends looking all tame and shiny! Do the same to define your eyebrows and postpone your trip to the salon.6. Transform Matte MakeupYou don’t have to necessarily spend money buying glossy makeup for your prom party, instead just mix the loose pigments of your matte eye shadow with Vaseline to give them an instant sheen.7. Eye Makeup RemoverBranded makeup removers are not only expensive but often tend to react adversely with your skin, causing breakouts and irritation. Vaseline, on the other hand, is essentially non-toxic and works wonders to remove eyeliner, mascara, eyeshadow and even the glue that your false lashes leave behind. Find out more here.8. Avoid Tan PatchesUsing Vaseline on dry spots before putting on fake tan helps to create a robust shield that prevents accumulation of streaks and smears in areas where they are likely to cling to. You can also take a cue from hair pros and apply some around your hairline to prevent unwanted hair dye stains on your ears, forehead, and neck.9. Smell Better LongerOne of thebest Vaseline Usesto try. This clever trick can get you through those hot and sultry days when you get all sweaty and smelly from running around all day. So the next time the sun shines too bright, rub some Vaseline onto the areas where you normally spray your favorite perfume. Then apply the scent as usual and get ready for an odor-free day! The Vaseline allows the fragrance to stay for a long time.10. DIY Lip ScrubMake your lips beautiful following this DIY idea that uses Vaseline and sugar to scrub and moisturize your lips, and leave it looking tinted, plump and pretty! For better results, consider swapping sugar with sea salt; you can even use this mixture as a moisturizing body scrub before bathing..uc9cf9cfd98da29765036a3bbd7648946 { padding:0px; margin: 0; padding-top:1em!important; padding-bottom:1em!important; width:100%; display: block; font-weight:bold; background-color:#eaeaea; border:0!important; border-left:4px solid #34495E!important; text-decoration:none; } .uc9cf9cfd98da29765036a3bbd7648946:active, .uc9cf9cfd98da29765036a3bbd7648946:hover { opacity: 1; transition: opacity 250ms; webkit-transition: opacity 250ms; text-decoration:none; } .uc9cf9cfd98da29765036a3bbd7648946 { transition: background-color 250ms; webkit-transition: background-color 250ms; opacity: 1; transition: opacity 250ms; webkit-transition: opacity 250ms; } .uc9cf9cfd98da29765036a3bbd7648946 .ctaText { font-weight:bold; color:#464646; text-decoration:none; font-size: 16px; } .uc9cf9cfd98da29765036a3bbd7648946 .postTitle { color:#9B59B6; text-decoration: underline!important; font-size: 16px; } .uc9cf9cfd98da29765036a3bbd7648946:hover .postTitle { text-decoration: underline!important; } See also6 Ways to Relieve Post-Election and Holiday StressMEDICINAL USES1. Repair windburned skinThe seven-day countryside hike that you are planning for in autumn can give you windburn, in addition to pleasant memories and sore knees. Well, not anymore because Vaseline is here to help! Apply some on your face, chest, elbows and wherever you’ve been chapped. The petroleum jelly will instantly relieve the pain and keep you on your feet when you are miles away from home.2. Prevent Diaper RashPrevent diaper rashes using Vaseline! It is safe, free from dyes and chemical that come in diaper creams. Read more here!3. No More Shampoo TearsDon’t bother buying a costly no-tears shampoo/soap for your toddler. Vaseline is all you need. Just smear a fair amount on your baby’s eyebrows. Due to its texture, it will be able to repel water and create a protective barrier against streams of shampoo running down into the eyes.4. Healing Cuts & Chapped LipsBeing occlusive in nature, Vaseline is a good remedy for sealing skin breakage and preventing bacteria or harmful impurities from entering through the wound. Consequently, it helps the body to heal itself naturally without any outside interruption or invasion. Applying Vaseline on the lips soothes the surface and prevents the moisture from escaping when the weather is already dry. Here’s more on it.5. When Taking a Child’s TemperatureExperts recommend using Vaseline when taking a baby’s temperature rectally. Coating the tip of the thermometer with Vaseline before inserting it anally reduces discomfort and negates the chance of unforeseen injuries.6. Preventing Pollen AllergiesIf you are sensitive to the presence of pollen in the air, consider smudging some on your nose and around your nostrils whenever you go outside. Then breathe only through your nose, to trap most of the offensive pollen inside, and when you reach home, wipe it off and rinse.7. Repair Cracked HeelsCracked heels cause discomfort and embarrassment and if you’re suffering from it, use Vaseline. A regular and consistent application just before bed after cleaning your feet can fix this. Learn more here!8. Cover Cold SoresWhat to do if your nose is red, runny and sore. Concealing it with makeup irritates the skin further and impairs its healing properties, so what’s next? Vaseline, of course! Dab some on the sensitive areas to keep your skin protected and moisturized even when the temperature dips drastically low outside. Learn more here!9. Anti-Atopic Dermatitis RemedyVaseline is a nice, low-cost solution to treating atopic dermatitis, a type of eczema that mainly affects children. Research has shown that a baby’s risk of developing this condition is almost reduced to half when they are kept moisturized with Vaseline at least four times a week. See more of it here.10. Ease Pierced EarsThis may qualify more like a beauty tip but who cares! As long as it’s useful! When you are dealing with the pain of freshly pierced ears or haven’t worn earrings for quite a while, apply Vaseline on the lobes and help those heavy earrings to glide effortlessly through the holes without causing you even the slightest hint of pain.HOME & LIFESTYLE USES1. Lubricate Cabinets and WindowsCan’t bear to hear your kitchen cabinet door creak at the slightest pull? Or, even that window that you have to use all your muscles to open every time you want some breeze in the house? Just apply some Vaseline with the help of a paintbrush on your cabinet door runners, and window sash channel, and watch them slide out like a hoverboard on a paved road.2. Smoothen Motion of Shower CurtainsVaseline can be used to lubricate curtain rods and enable the shower curtain to slide more easily and quickly, in order to stop the water from flooding into the bathroom floor just in time.3. Deter Squirrels from the Bird FeederSquirrels may look all cute and nice, but they have a bad habit of climbing onto the bird feeder, and out-competing the birds in accessing the food stores, you have laid out for them. Thankfully, squirrels hate the texture of Vaseline, so smear some on the pole of your bird feeder. This will cause them to slide off whenever they try to climb. Over time, they’ll give up and look for more accessible food elsewhere. Learn more here!.u379e23038d86a6e4960daba11f633665 { padding:0px; margin: 0; padding-top:1em!important; padding-bottom:1em!important; width:100%; display: block; font-weight:bold; background-color:#eaeaea; border:0!important; border-left:4px solid #34495E!important; text-decoration:none; } .u379e23038d86a6e4960daba11f633665:active, .u379e23038d86a6e4960daba11f633665:hover { opacity: 1; transition: opacity 250ms; webkit-transition: opacity 250ms; text-decoration:none; } .u379e23038d86a6e4960daba11f633665 { transition: background-color 250ms; webkit-transition: background-color 250ms; opacity: 1; transition: opacity 250ms; webkit-transition: opacity 250ms; } .u379e23038d86a6e4960daba11f633665 .ctaText { font-weight:bold; color:#464646; text-decoration:none; font-size: 16px; } .u379e23038d86a6e4960daba11f633665 .postTitle { color:#9B59B6; text-decoration: underline!important; font-size: 16px; } .u379e23038d86a6e4960daba11f633665:hover .postTitle { text-decoration: underline!important; } See alsoDoes Beeswax Expire | Homemade DIY Beeswax Lotion ⋆ BeautyNews4. Prolong Pumpkin FreshnessRotted and dried pumpkins don’t look nearly as appealing as the freshly cut ones. Retain the original flavor of the carved pumpkins by covering exposed edges with Vaseline. This will dilute the effects of moisture and improve the shelf-life of this autumn vegetable.5. Repair Furniture DamageMask those unsightly stains, scratches and ring marks on your furniture with a generous application of Vaseline. Let it stay put for a day or two and then rub it well, before wiping it off.6. For Soft Focus ShotsPut some Vaseline on the outer area of filter (never apply directly on the lens!) and leave blank the central area. This will create photos with a clear center and blurry surrounding and is particularly suitable for portraits. Learn more here!7. For Razor BladesRazor blades are generally used in damp conditions, and let’s face it- who takes the time to dry them after use! As a result, they rust and don’t last their full lifetime. Increase their efficiency and protect a build-up of rust by applying a thin layer of Vaseline on the dried blade.8. Create Fly PaperA cardboard and some Vaseline are all you need to make a cost-effective flypaper that can be placed in infested areas to trap those pesky creatures and keep them from causing havoc in your home and garden. Watch this video to learn more!9. Revive Baseball MittInfuse new life to your stiff and worn-out baseball mitt with a generous application of Vaseline. The latter is a potent lubricant, and as such, acts to soften up the tough leather of the glove. Do this all throughout winter, and by the time spring comes, you will be ready to wear it on the field. Visit LiveStrong.com to learn more!10. Clean and Polish Wooden FurnitureWith Vaseline on your side, you can wipe off watermark rings, juice spills, and coffee stains all you want without working up a tizzy! Just dab some on the affected areas and let it sit for a day or two. Next morning, wipe out the marks with jelly and a rag cloth.11. Remove Bubble GumWho said you have to discard anything with chewing gum stuck on it? Just squeeze some Vaseline and rub vigorously till the gum starts to dismantle. Pluck it off and wash the area nicely to remove any residues.12. Remove Stains from Cloth NapkinsYou decorate the table for a cozy dinner party with your choicest cloth napkins and your girlfriends leave lipstick marks and coffee stains all over them. Before tossing them in the trash can, or even the laundry cart, consider blotting Vaseline on the marks. Then clean as you do!OUTDOOR USES1. Tighten Lid on PaintAs a cheap alternative to store-bought adhesives, Vaseline can be used to form an air tight seal on paint cans or cleaning bottles kept in the garage. This prevents accidental leaks and keeps the contents protected from the vagaries of the elements.2. Detach Sticky Outdoor Light BulbsOver time, Mother Nature works her way around your light bulbs, causing them to stick to their metal base, so when you start to unscrew them off, you end up leaving tiny scraps in the socket. Many a time, moisture gets in and imposes a film of rust on the bulb’s base. An easy solution is to apply Vaseline at the base before screwing in the fixture.3. Alleviate Noisy Door HingesThe annoying sound of your garage door hinge is enough to send shudders down the spine. Applying Vaseline to the hinge pins helps you enjoy a quieter and smoother motion every time you open and close the door.4. Cold Weather Skin ProtectantHarsh, cold temperatures take a toll on your tender skin, leaving it dry, chafed and susceptible to cracking; so the next time you work out in the bitter cold, don’t forget to slather the exposed areas of your skin with Vaseline.5. Chrome ProtectionStop before you stow your kid’s bikes or that used stroller in the garage. The chrome parts of these machines are susceptible to rust formation, especially during winter, so don’t forget to dab some Vaseline on the exposed areas. And while you’re at it, dab some on the machinery kept in your garage. When spring comes, and it’s time to take out the items from the storage, they will remain rust-free and retain their original sheen..uc4da5719bbd4cd33792553ce64c73d8f { padding:0px; margin: 0; padding-top:1em!important; padding-bottom:1em!important; width:100%; display: block; font-weight:bold; background-color:#eaeaea; border:0!important; border-left:4px solid #34495E!important; text-decoration:none; } .uc4da5719bbd4cd33792553ce64c73d8f:active, .uc4da5719bbd4cd33792553ce64c73d8f:hover { opacity: 1; transition: opacity 250ms; webkit-transition: opacity 250ms; text-decoration:none; } .uc4da5719bbd4cd33792553ce64c73d8f { transition: background-color 250ms; webkit-transition: background-color 250ms; opacity: 1; transition: opacity 250ms; webkit-transition: opacity 250ms; } .uc4da5719bbd4cd33792553ce64c73d8f .ctaText { font-weight:bold; color:#464646; text-decoration:none; font-size: 16px; } .uc4da5719bbd4cd33792553ce64c73d8f .postTitle { color:#9B59B6; text-decoration: underline!important; font-size: 16px; } .uc4da5719bbd4cd33792553ce64c73d8f:hover .postTitle { text-decoration: underline!important; } See alsoHow to tighten the skin on your legs at home ⋆ BeautyNews6. Protect RunnersHow many times have you had to stop midway through your runs due to painful chafing? If you are someone who likes wearing loose T-shirts on a fast-paced ride, you must be familiar with the constant friction that occurs between your skin and cloth as you run. Well, Vaseline has got your back! Just smear some on susceptible areas before putting on your fitness wear, and you’re good to go!7. Lock MaintenanceEven the most expensive and sophisticated door locks are prone to freezing in the winter, so what’s the solution? Vaseline! Smear some on the shaft of the keys before inserting it into the lock.8. Prevent Battery CorrosionYou know what’s the most realistic road trip nightmare ever? Ending up with a dead battery in your car, and that too on a cold day of winter. The good news is that you can negate the chance of this occurrence by smearing Vaseline on the battery terminals and prevent the corrosion that subsequently leads to the dead battery. Here is the video guide for your help.9. Paint ProtectionThe next time you opt for a DIY paint venture on your garage doorknob, be mindful about spilling paint on the hinges and metal fixtures by rubbing Vaseline over the parts. This way the paint won’t stick even if you do manage to spill. Wiping the Vaseline after painting will remove any paint that may have settled on it. As a result, you will have a nice and tidy paint job that looks like you got a pro to do it for you. See more paint hacks at Buzzfeed!10. Clean Bird DroppingsYou wear your best clothes and go out thinking you will have a great day and boop! The neighbor’s parrot decides to use your costly poncho as its bathroom. Instead of screaming and running home to change, just fish out a tub of Vaseline from your purse and dab some on the affected area. Within five minutes, the stain will be gone and so will the smell.PET-RELATED USES1. Moisturize Dog’s PawsThe next time you give them belly rubs, massage a little Vaseline on their paws. This will stave off potential injuries from wind chills and abrasion when they go digging in the garden bed. Use a tiny bit at first because some dogs don’t like having their paws rubbed.2. Hairball RemedyCats and dogs, especially the extra furry ones have a hard time coughing up hairballs. Vaseline, being a lubricant can come to their rescue. And since it’s non-toxic, they won’t mind eating it straight up. For more finicky pets, dab some on the paws and they will lick it off. Just remember that a little amount of Vaseline is fine, but too much of it can adversely affect their sensitive stomach, giving them diarrhea.3. Keep Ants Away from Pet DishesIf you are used to keeping your pet’s food bowls in the garden, you know how troublesome it is to deal with the invasion of ants. Stave off those pesky creepy-crawlers by smearing Vaseline on the area around the bowl.4. Protection from ChafingDogs adore walking and running, regardless of the weather. Don’t compromise with their fitness needs even when it’s freezing outside; just dab some Vaseline on their paws, to protect them from the elements, as well as chemicals on pavements. This small measure will also help to heal cracked pads and ease the irritation arising from frequently walking on concrete.5. Remove Dog TicksThe lubricating power of Vaseline lends itself to effective tick removal from dog fur. Search for swollen areas on your pet’s skin because that’s where the ticks lie mainly. Now, using tweezers pull off the ticks and dab some Vaseline on the tick to kill it completely. Here’s a video for your help.